Setting Up SGGameInstance
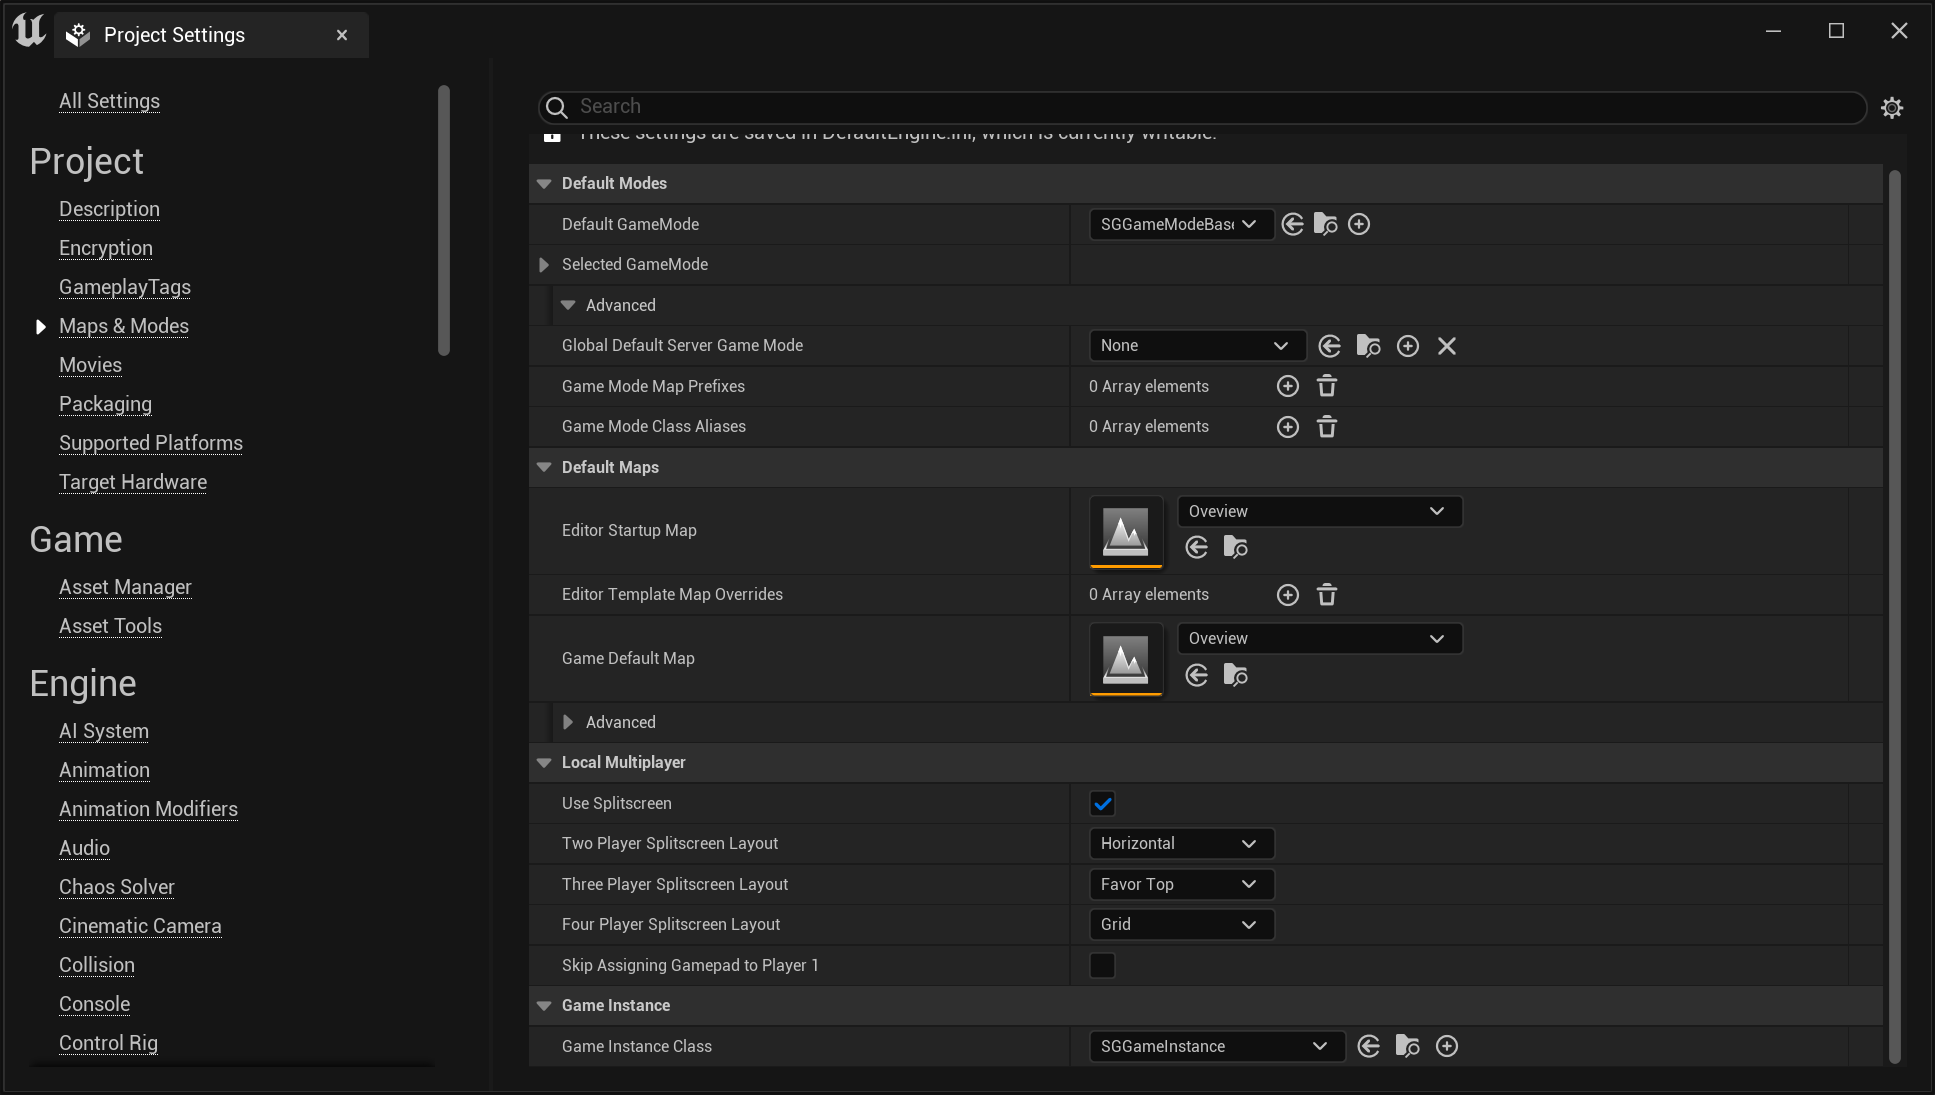
Setting SGGameInstance as the default Game Instance Class is very straightforward. You can do this by navigating to Project Settings > Project > Maps & Modes > Game Instance > Game Instance Class.
tip
For greater control and customization, consider extending the SGGameInstance.
important
Currently, setting SGGameModeBase or a subclass of it as the default
Game Instance Class is not a strict requirement. However, if you intend to
use any SenseGlove console command it becomes
mandatory. If not set, SenseGlove console commands will not be recognized by
Unreal Engine.
Extending SGGameInstance
Follow these steps to extend and set up your own version of SGGameInstance:
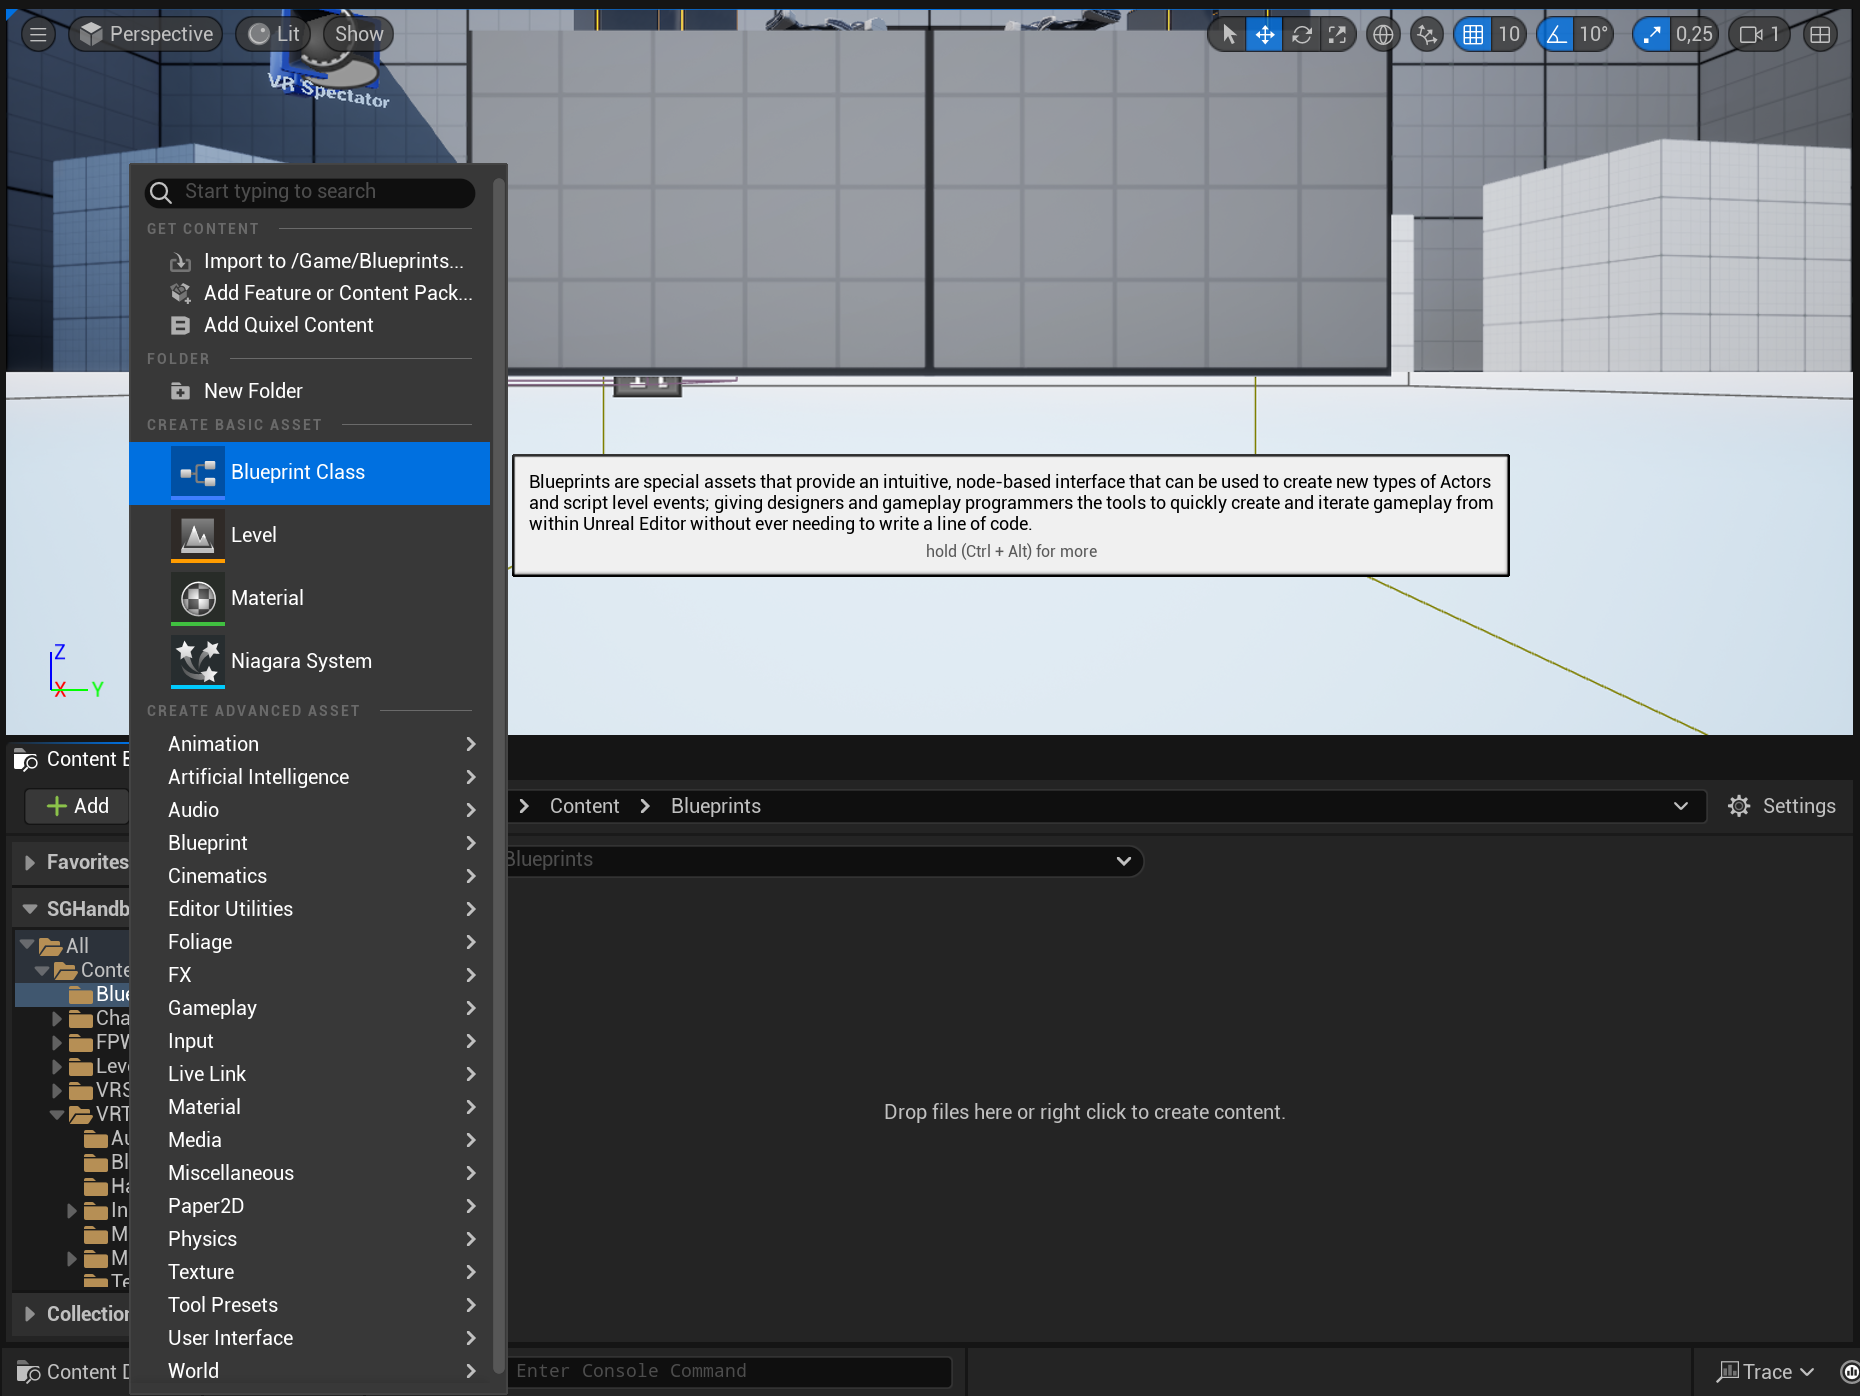
- In the Content Browser, click the
+ Addbutton, then selectBlueprint Class from the menu. Alternatively, right-click inside the Content Browser and chooseBlueprint Classfrom the context menu.
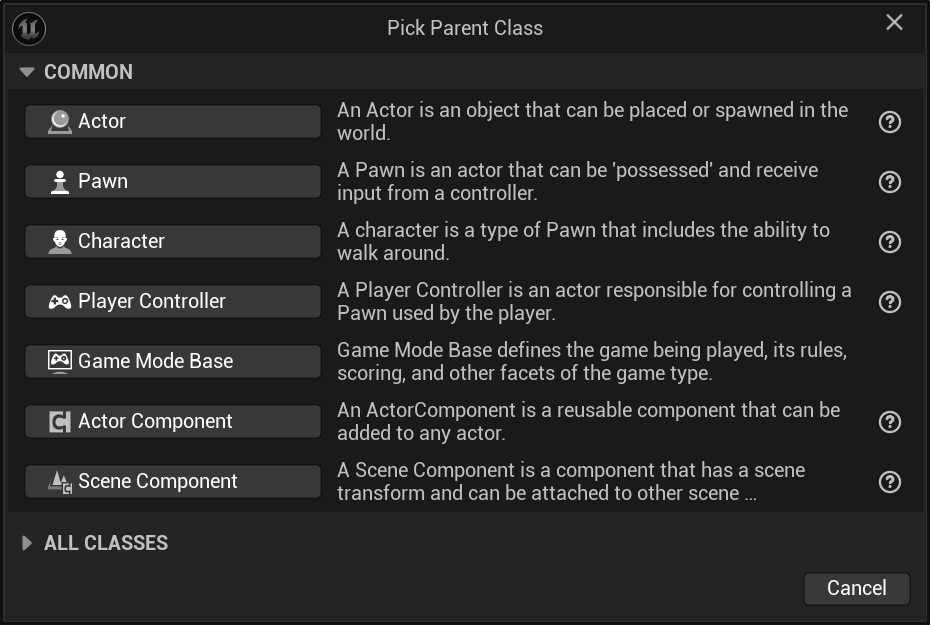
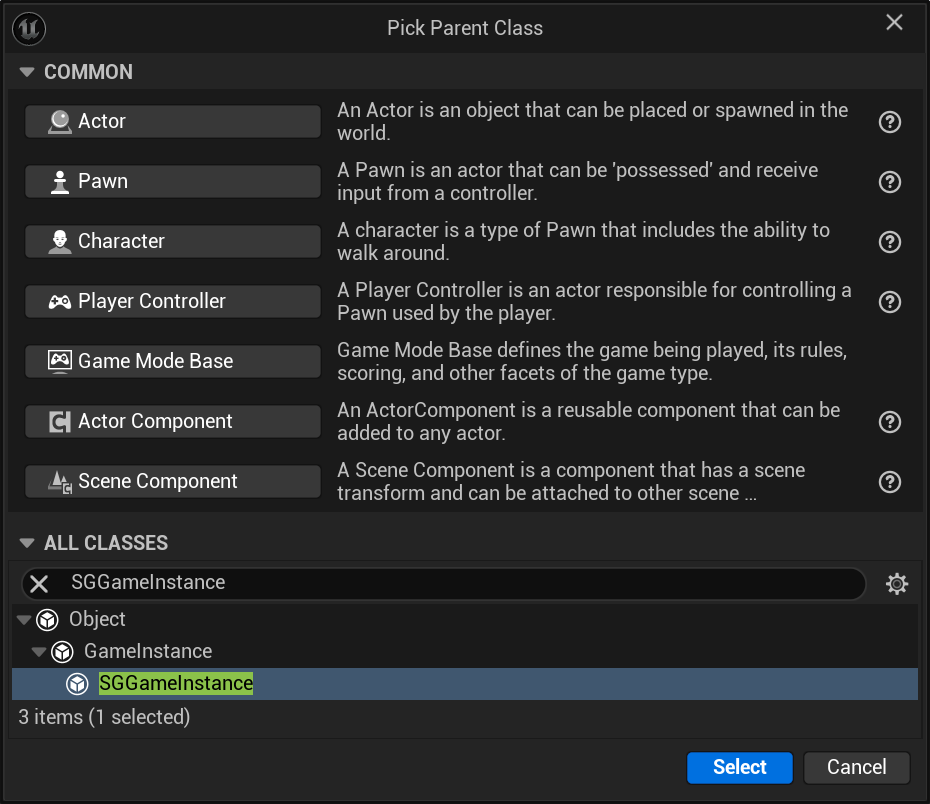
- A dialog will appear asking you to choose a parent class. Click on the
ALL CLASSESsection to expand the list of available classes.
- In the expanded
ALL CLASSESsection, start typingSGGameInstancein the Search box. WhenSGGameInstanceappears, select it and click theSelectbutton to create your new Blueprint class based on it.
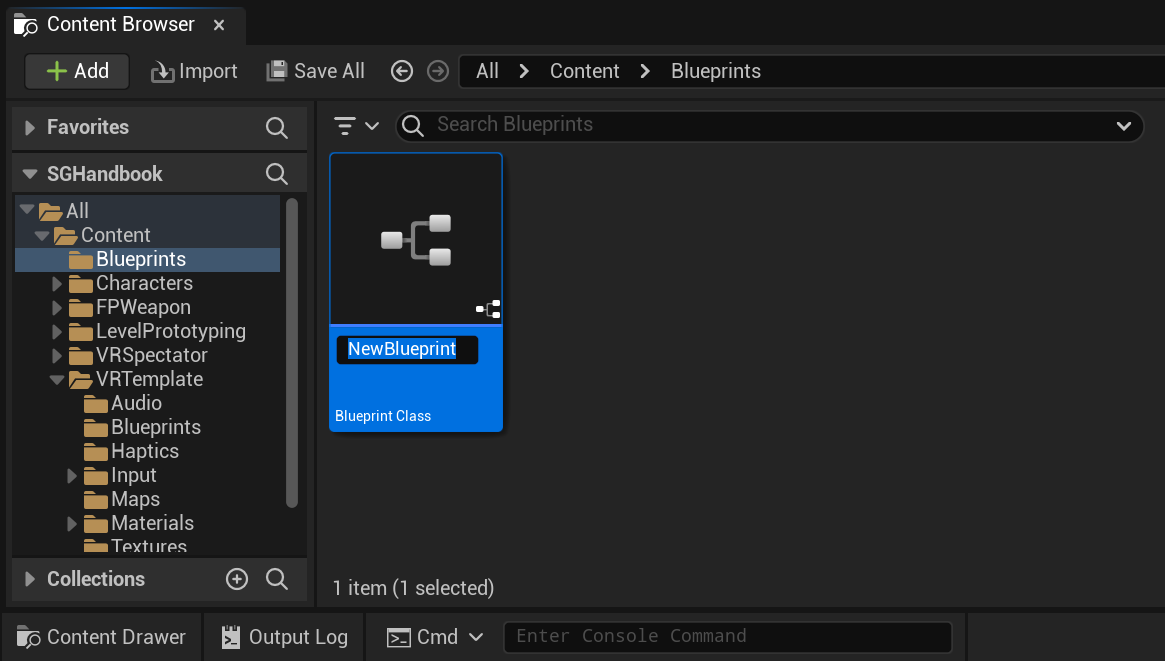
- After returning to the Content Browser, the Unreal Editor will prompt you to rename
NewBlueprintto your desired class name. You can rename the class at any time by pressingF2or by right-clicking on it and selectingRenamefrom the context menu.
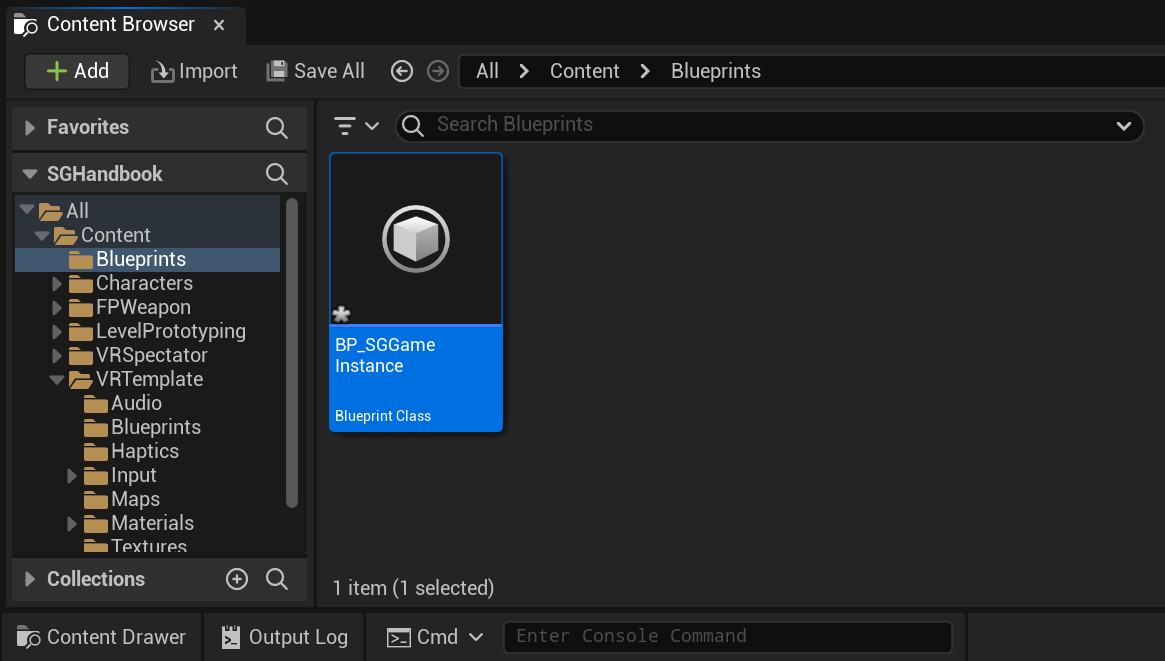
- Once you have renamed the
NewBlueprintclass to your desired name, click onSave Allto save the new class to disk.
- Finally, set your newly created subclass of
SGGameInstanceas the defaultGame Instance Class. You can do this by navigating toProject Settings > Project > Maps & Modes > Game Instance > Game Instance Class.
