Enabling The SenseGlove Unreal Engine Plugin and Veirfying the Plugin Version
Enabling the SenseGlove Unreal Engine Plugin is a very simple and straightforward procedure. Furthermore, checking which version of the plugin your project is using may sometimes come in handy, especially if you have multiple versions of the plugin installed on different engine versions or various projects.
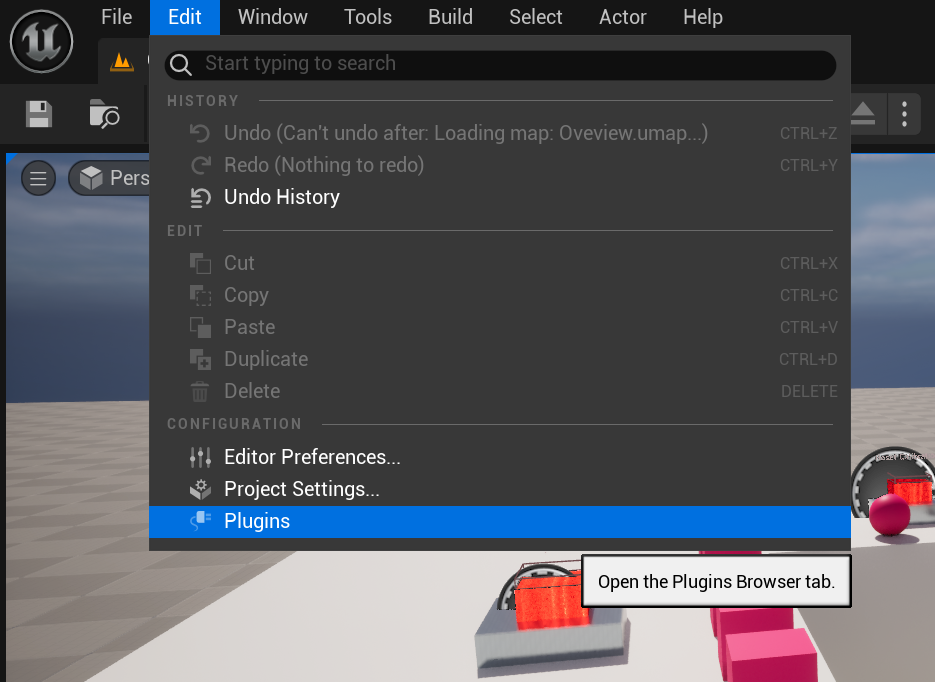
- Inside the Unreal Editor for your project, select the
Pluginsfrom theEditmenu.

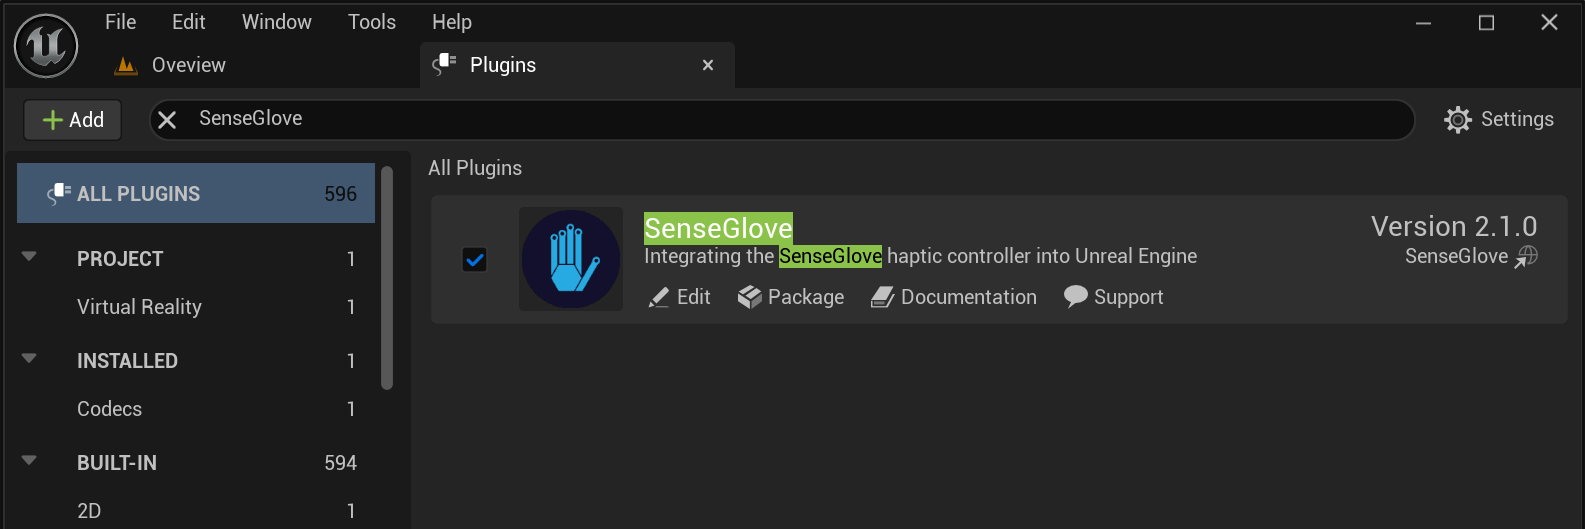
- Once the plugin window/tab is open, start typing
SenseGloveuntil you're able to spot the SenseGlove Unreal Engine Plugin. There you could find the plugin version, and other useful resources, such as the documentation website or support contact.

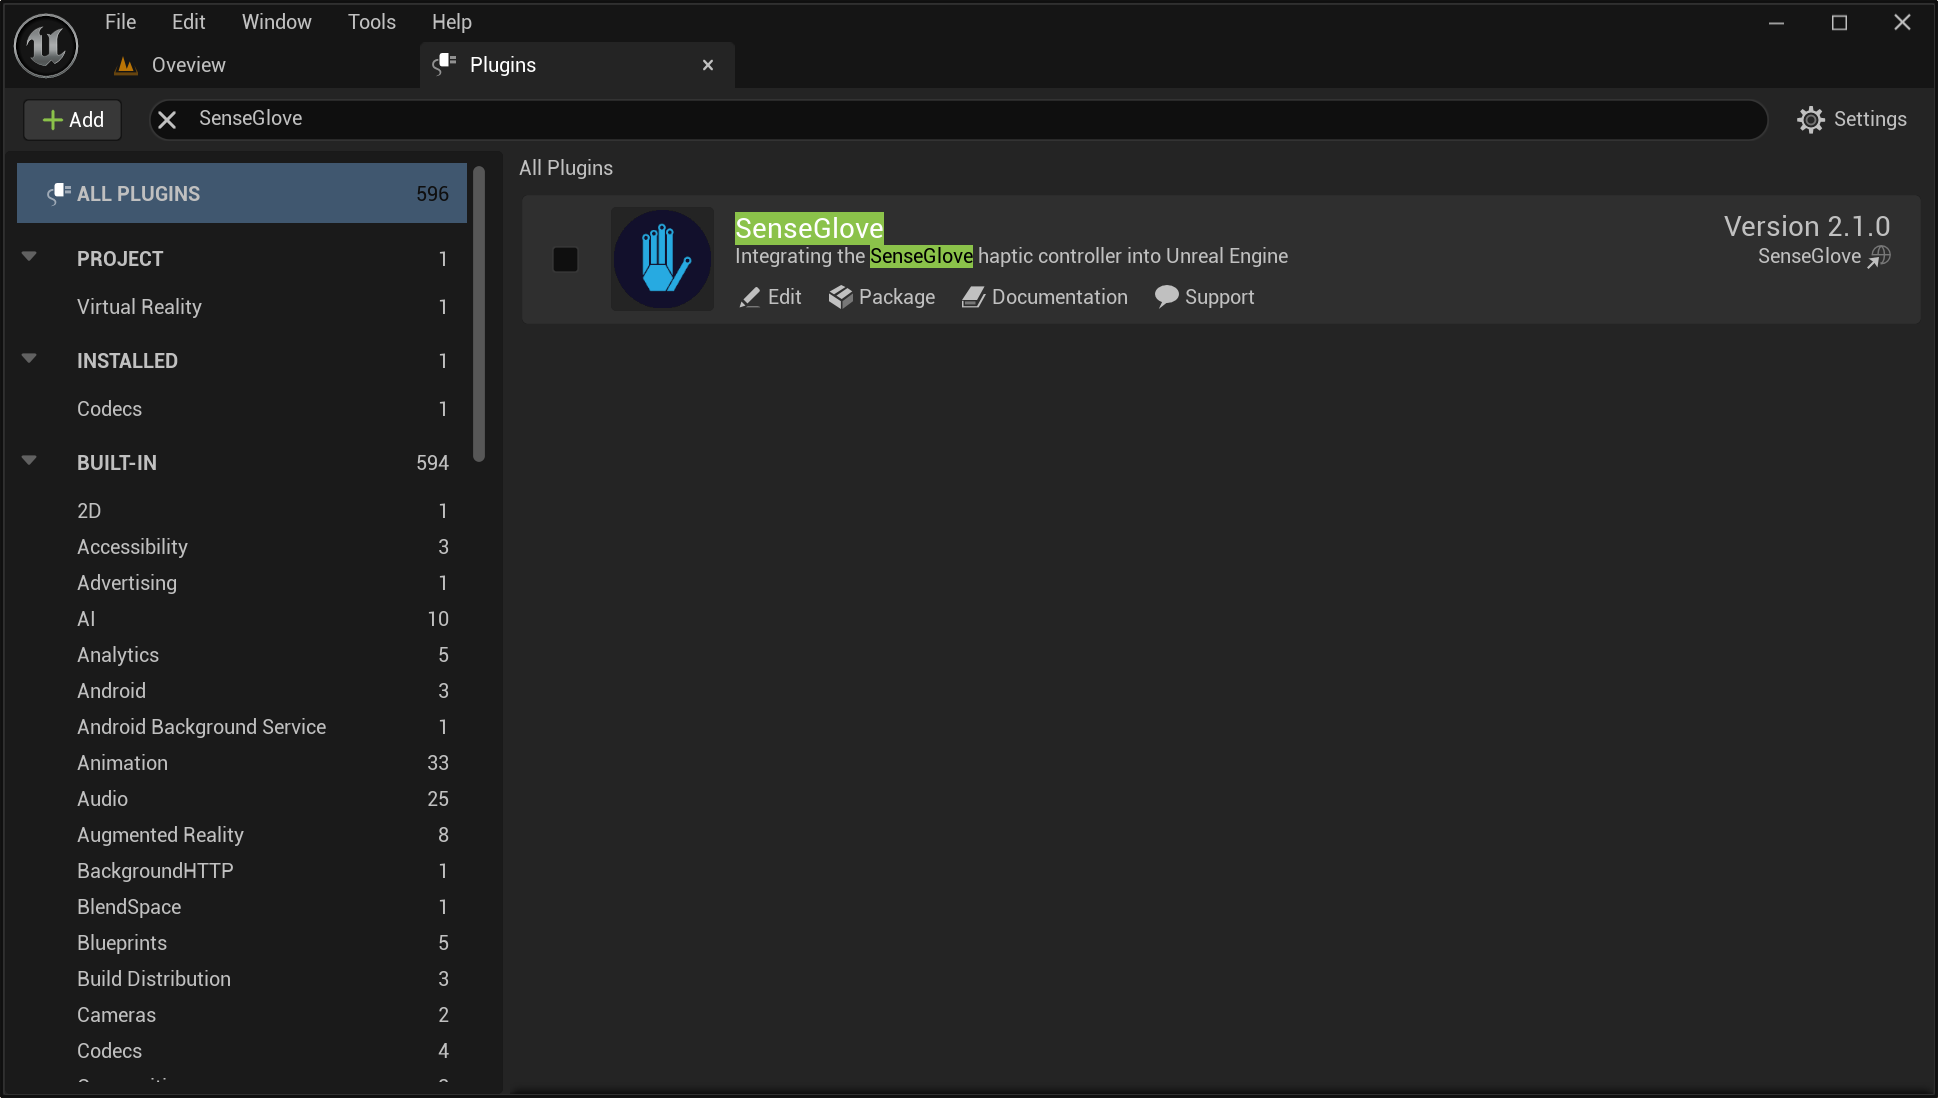
- If the plugin is not enabled, it does not have the checkmark next to it.

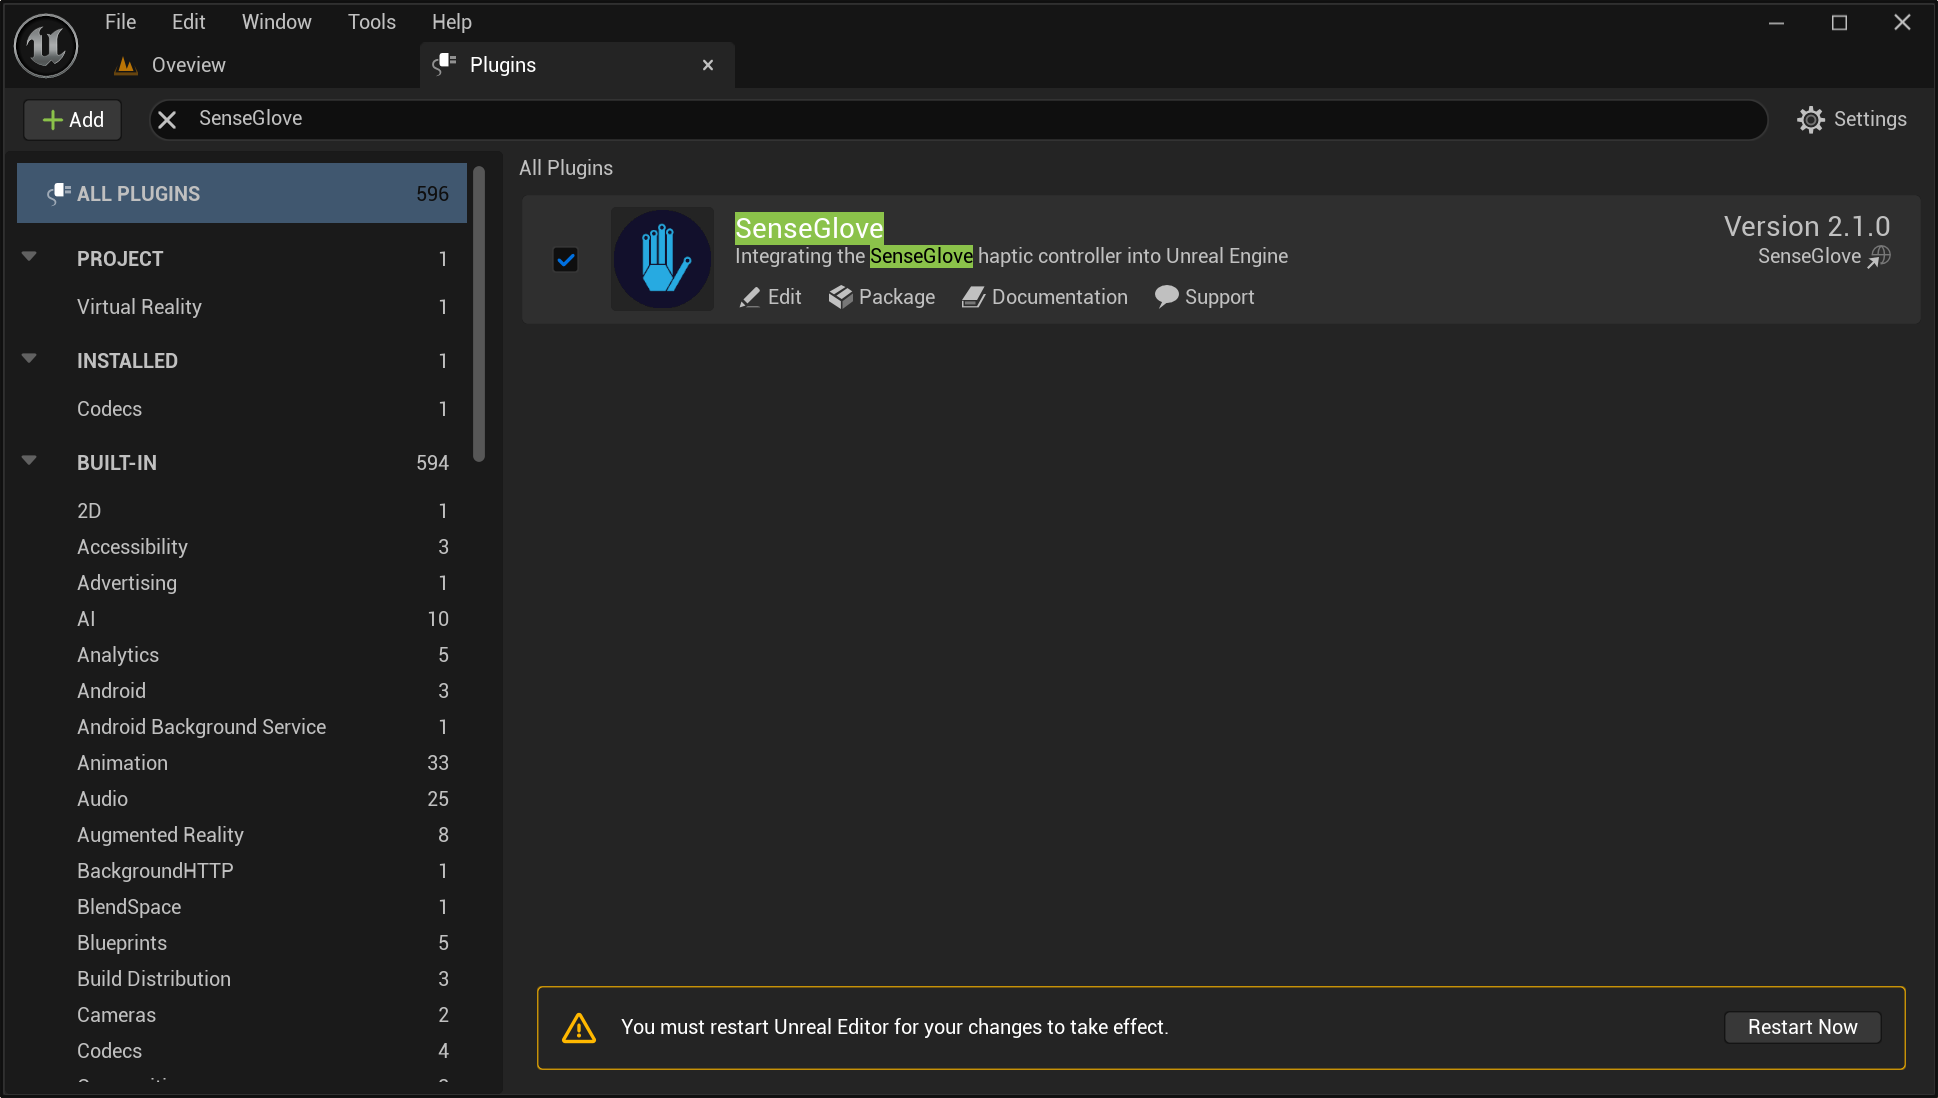
- It should be easy to click the checkmark and enable the plugin if that's not the case. Once the plugin is enabled, the Unreal Editor asks to be restarted. Click on the
Restart Nowbutton as this is mandatory to activate the plugin inside your project.

- The source code for the plugin might be required to be rebuilt depending on how you have obtained and installed the plugin, usually the Unreal Editor lets you know and does this automatically. If it's required to build the plugin source, and it fails to do so, it usually suggests an alternative approach such as opening your regenerating the project files and rebuilding the project inside a C++ IDE. Once this is done the Editor for your projects re-opens and you can follow steps
1and2in order to verify the plugin's version and availability inside your project.
Video Tutorial
A video demonstrating the same instructions in more detail is also available on the SenseGlove YouTube channel.