Setting Up SGPawn
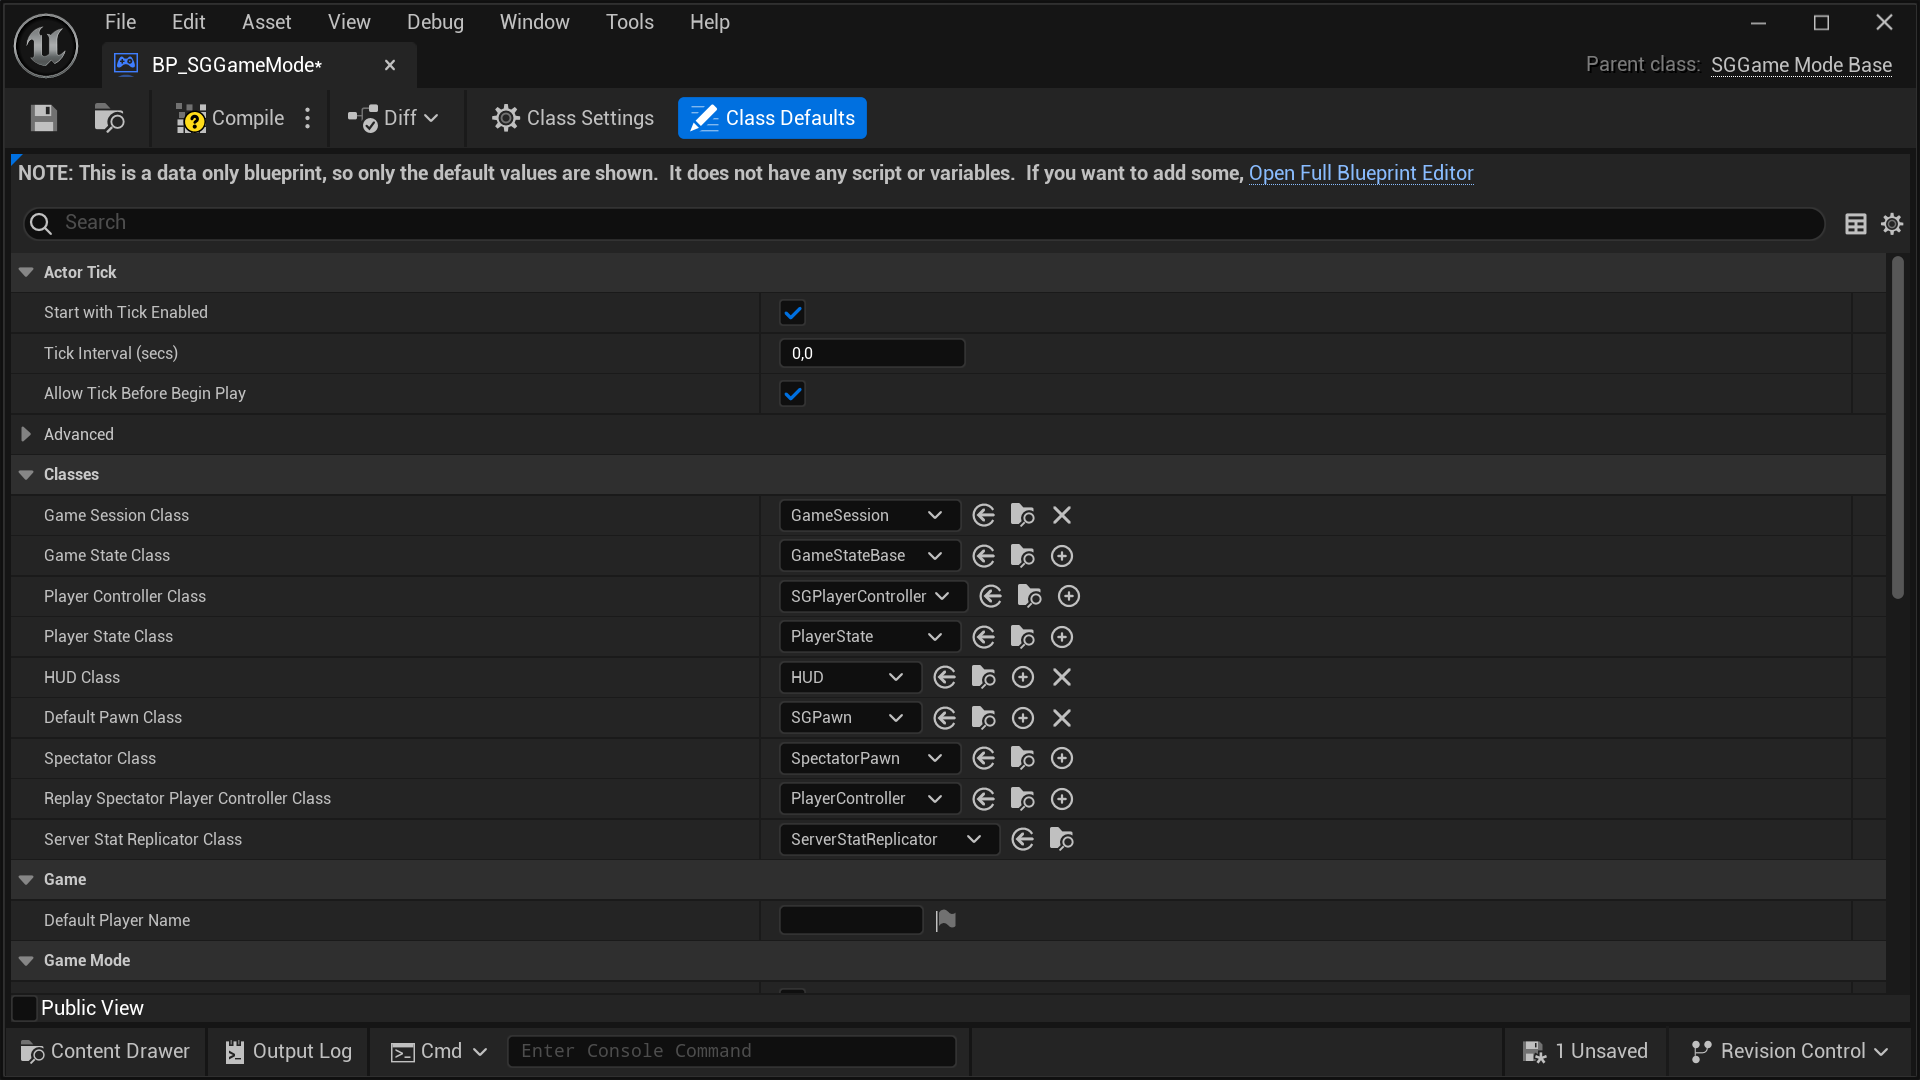
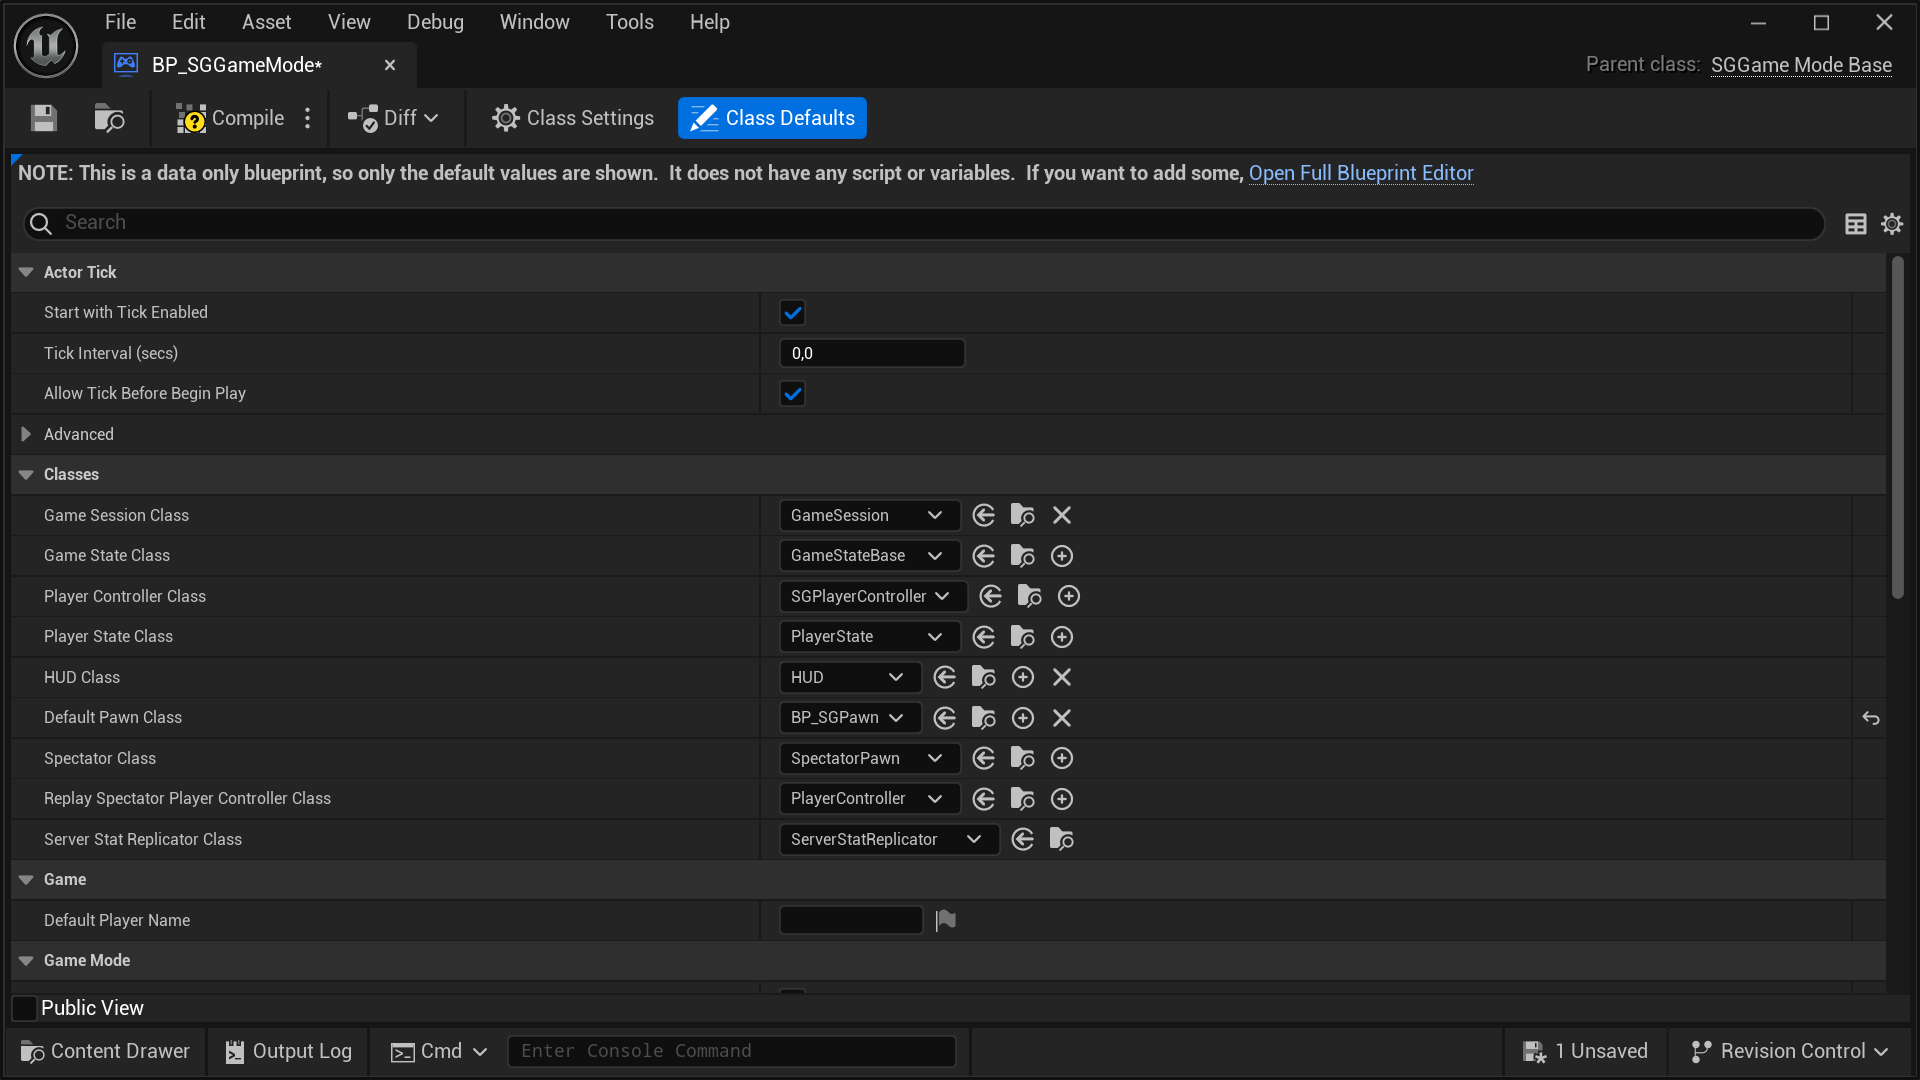
Depening on the Unreal Engine version and your project's type and configuration, you might be able to set SGPawn as the Default Pawn Class by navigating to Project Settings > Project > Maps & Modes > Default Modes > Selected GameMode > Default Pawn Class. However, regardless of the engine version or project type and configuration, you can always configure this by opening your Default GameMode and setting the Default Pawn Class directly from there. Once set, click on the Compile button and save your game mode Blueprint asset.
Tip
For greater control and customization, consider extending the SGPawn.
Caution
Setting
SGPawnor a subclass of it as theDefault Pawn Classwithout settingSGPlayerControlleror a subclass of it as the defaultPlayer Controller Classwill cause theSGPawnto not function properly. So, it's a strict requirement.
Important
To have a fully functional
SGPawn, simply setting it up is not enough. You still need to setup the Virtual Hand Meshes and setup the Wrist Tracking Hardware.
Extending SGPawn
Follow these steps to extend and set up your own version of SGPawn:
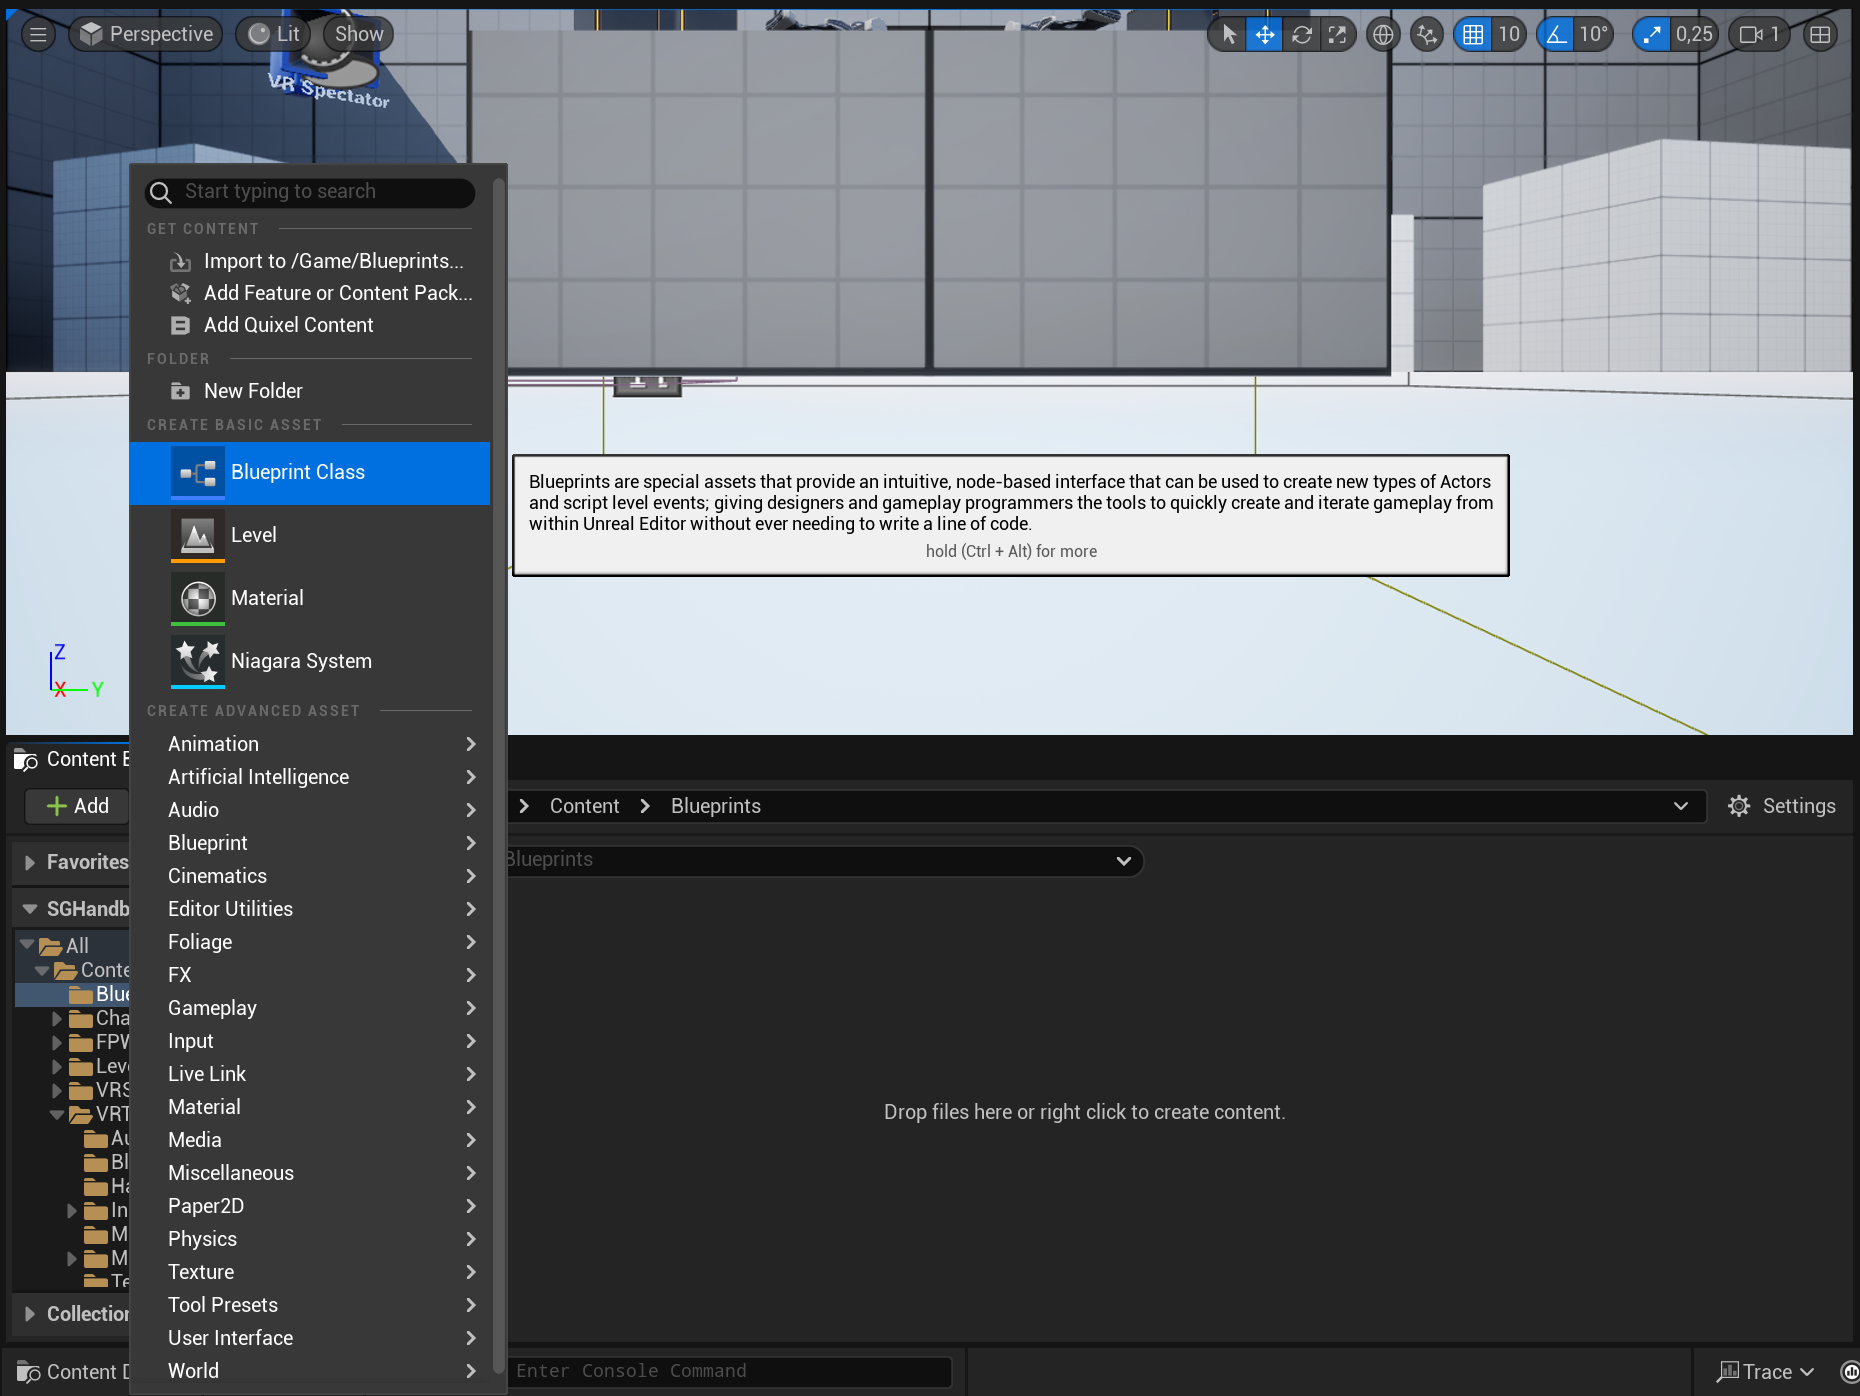
- In the Content Browser, click the
+ Addbutton, then selectBlueprint Class from the menu. Alternatively, right-click inside the Content Browser and chooseBlueprint Classfrom the context menu.
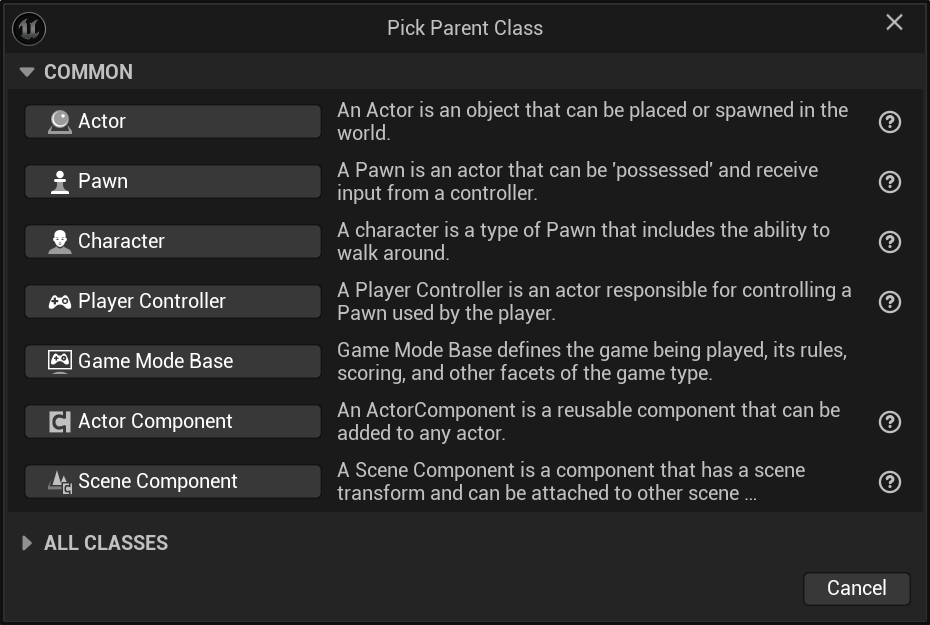
- A dialog will appear asking you to choose a parent class. Click on the
ALL CLASSESsection to expand the list of available classes.
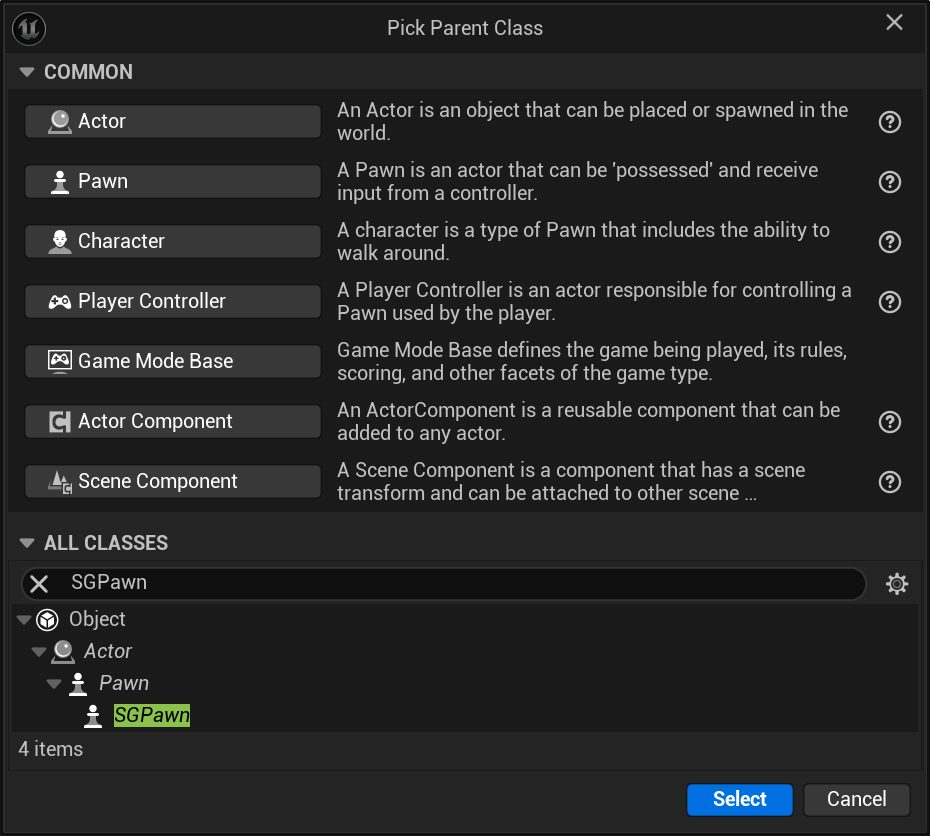
- In the expanded
ALL CLASSESsection, start typingSGPawnin the Search box. WhenSGPawnappears, select it and click theSelectbutton to create your new Blueprint class based on it.
- After returning to the Content Browser, the Unreal Editor will prompt you to rename
NewBlueprintto your desired class name. You can rename the class at any time by pressingF2or by right-clicking on it and selectingRenamefrom the context menu.
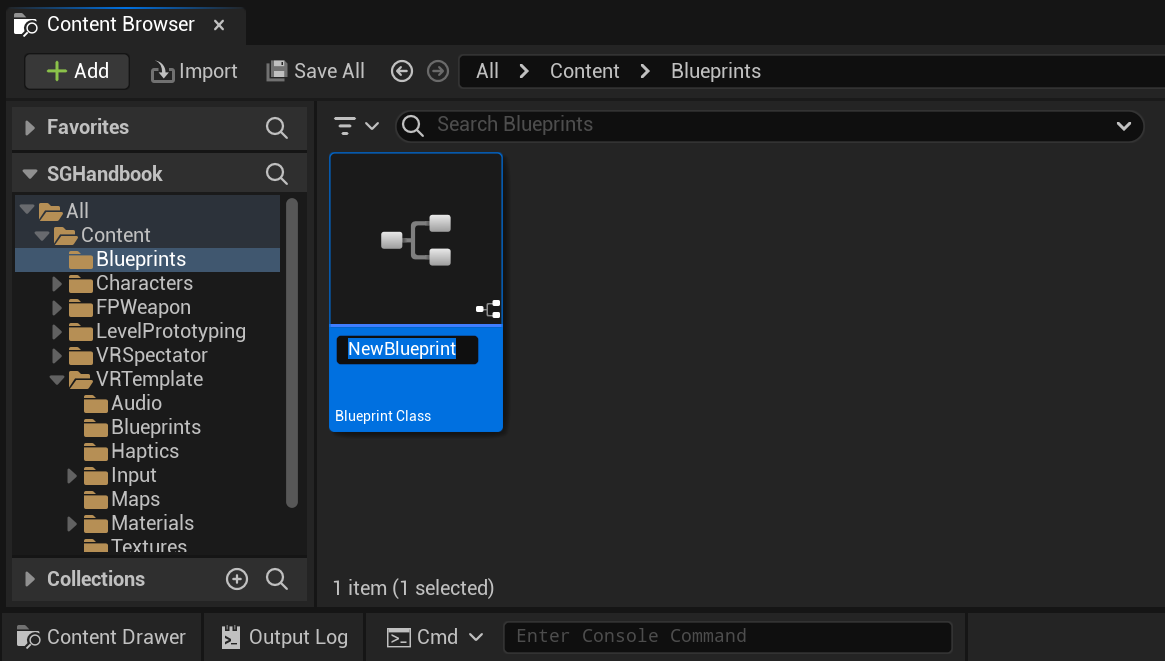
- Once you have renamed the
NewBlueprintclass to your desired name, click onSave Allto save the new class to disk.
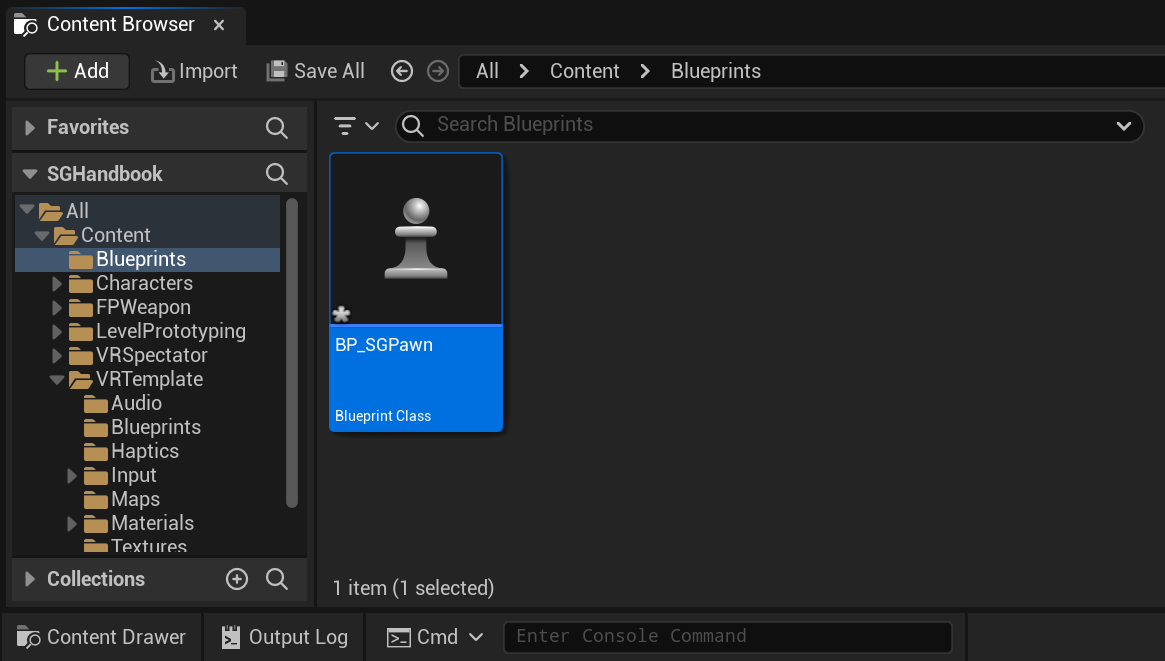
- Finally, set your newly created subclass of
SGPawnas theDefault Pawn Class. Depening on the Unreal Engine version and your project's type and configuration, you might be able do this by navigating toProject Settings > Project > Maps & Modes > Default Modes > Selected GameMode > Default Pawn Class. However, regardless of the engine version or project type and configuration, you can always configure this by opening yourDefault GameModeand setting theDefault Pawn Classdirectly from there. Once set, click on theCompilebutton and save your game mode Blueprint asset.
Important
To have a fully functional
SGPawn, simply setting it up is not enough. You still need to setup the Virtual Hand Meshes and setup the Wrist Tracking Hardware.
Customizing SGPawn
Customizing the SGPawn after subclassing is straightforward and flexible.
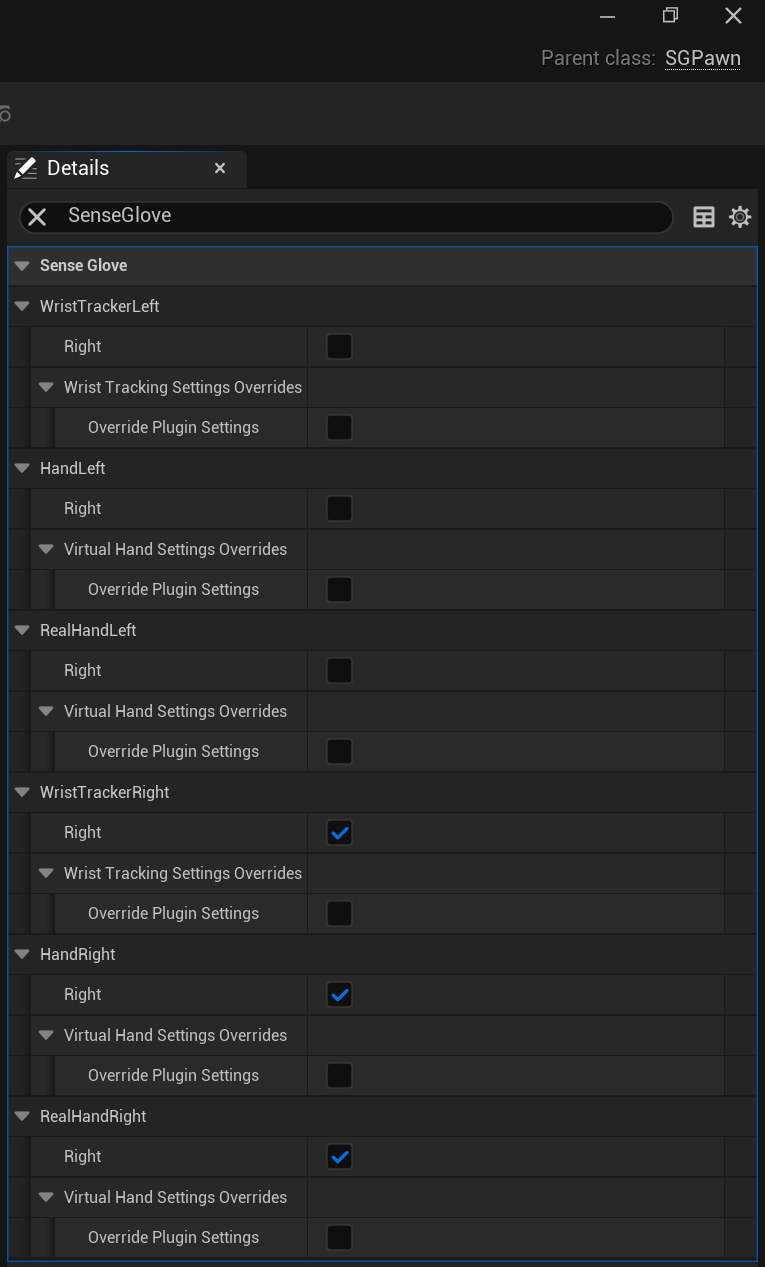
The SGPawn class includes several key subcomponents:
Wrist Tracker LeftandWrist Tracker Rightof typeSGWristTrackerComponent.HandLeftandHandRightof typeSGVirtualHandComponentand represent the virtual hand models visible to the user in the simulation.RealHandLeftandRealHandRightof typeSGVirtualHandComponent. By default, these are hidden and represent the real hands within the simulation. These components are useful if you need to separate the rendering of the virtual hands from the real hands. For instance, the virtual hands typically have collisions and cannot pass through objects, while the real hands are not constrained in this way.
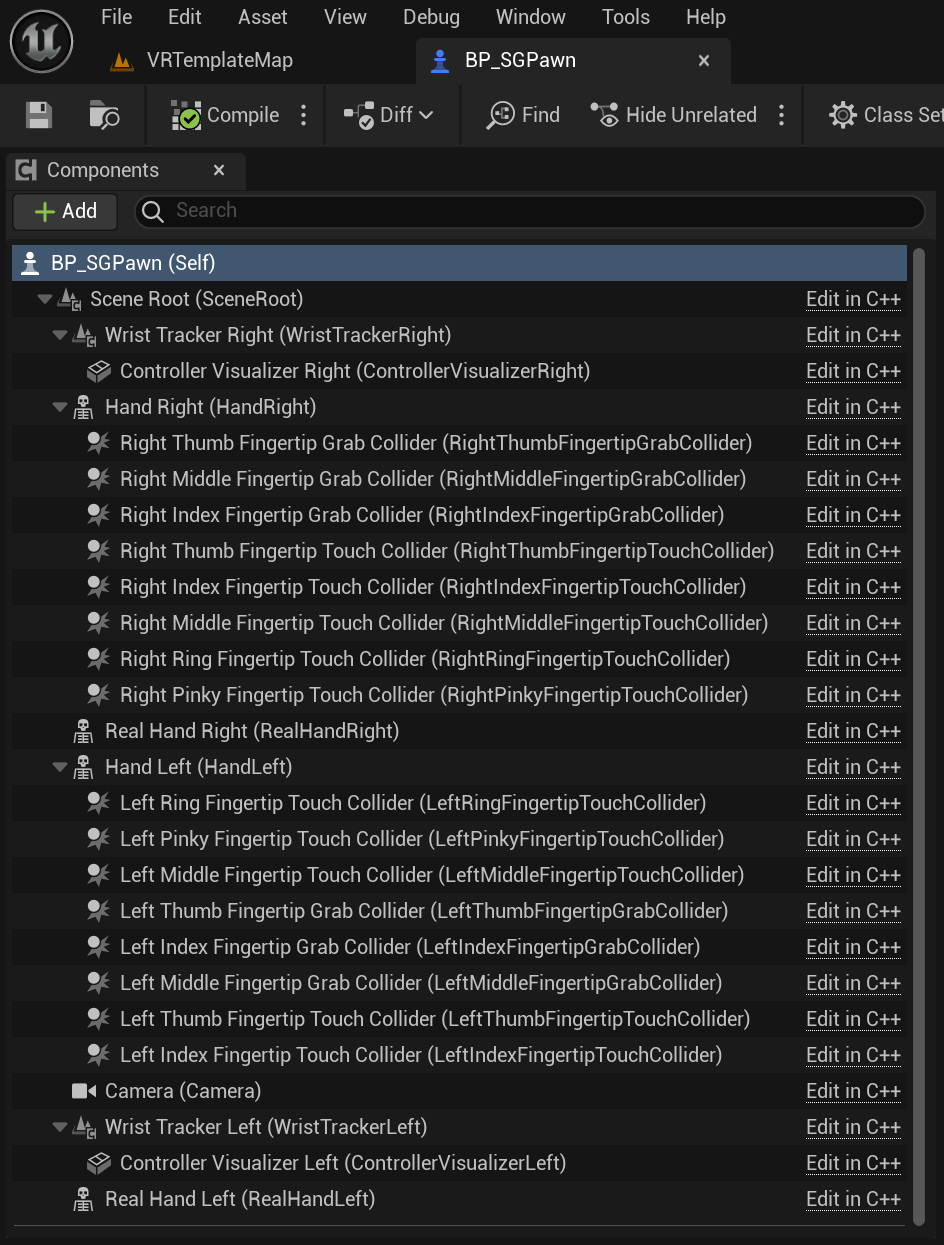
Also, it's possible to filter the properties for these SenseGlove components inside the Details panel inside the SGPawn Blueprint Editor by typing the word SenseGlove inside Search box of the Details panel.
Please visit how to setup the Virtual Hand Meshes, The Virtual Hand Mesh Settings, and how to setup the Wrist Tracking Hardware sections for more information.